Views
Create Refinery views to prepare and materialize the indexed data of object groups into columns for analytics and monitoring.
ChaosSearch views have versatile and time-saving capabilities to prepare, filter, and virtually transform or materialize an object group's indexed data into columns for analytics. Schema transformations can be applied to fields, allowing users to tailor the data for visualizations without changing the source indexed data.
This topic describes how to create a view and the view features.
Creating a View
The Views area includes a list of defined views on the left.
To create a view:
- Click Views on the console navigation bar.
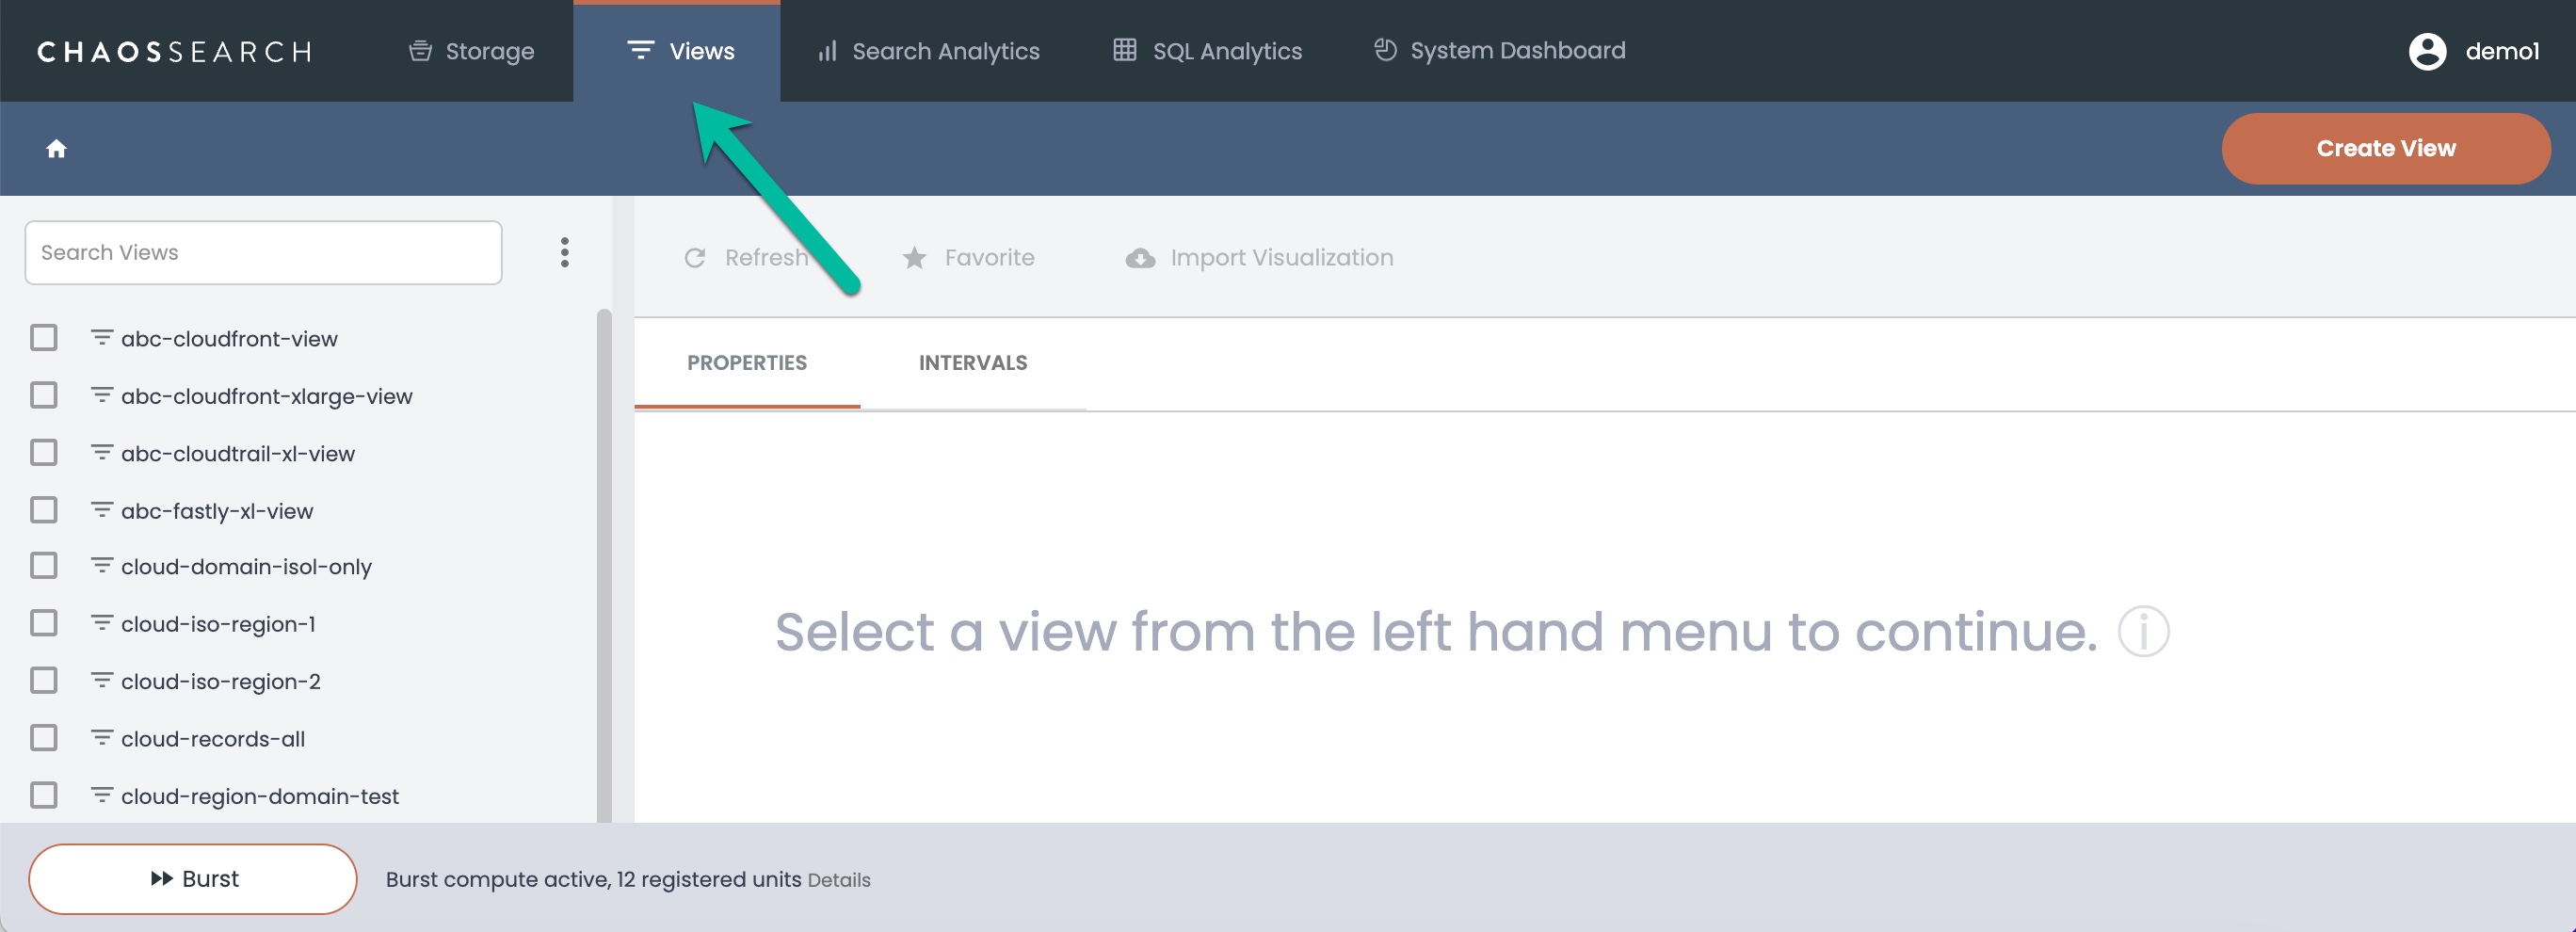
- Click Create View in the top right of the window to display the configuration window.
-
Select one or more object groups in the left list. The right pane updates with the list of daily interval files (the indexed data) associated with the selected group(s).
-
By default, the view includes all of the interval files (all the indexed data) for the associated object groups that you select. You can filter the interval files to focus on specific indexed data ranges.
- You can specify an Interval Pattern and type a Java Regular expression to match on the names of specific interval files. The expression
.*selects all interval files for the associated object group(s). See interval options. - You can restrict the view to a specific lookback window of daily interval files (that is, use only the indexed data from now back to a specified number of days or months). Select Interval Window and specify a time range in days or months. For example, if you specify an interval window of 3 days, only the daily interval files with a file name timestamp within the last 3 days up to now will be analyzed. Any interval files for previous dates are ignored.
- You can specify an Interval Pattern and type a Java Regular expression to match on the names of specific interval files. The expression
-
After you have refined the list of indexes to include in the view, click Next.

-
If you selected interval file(s) for a JSON object group that has horizontally expanded arrays, the JSON Array Transformation window appears. For more information, see Walkthrough: Creating Views with JSON Flex Features.
-
In the Schema Transformation window, you can use the filter and gear (transform) icons to filter the indexed data results or to create virtual data transformations for the indexed data in this view. See Filtering Data in the View later in this topic for general filtering, or Schema Transformation for more information about materializing columns.
- Click Next. The timestamp window appears when there is at least one timeval column in the indexed data. (Some files like fact tables might not have timevals; in this case, this window will be skipped.)

-
In the Timestamp Column field, select the timestamp field to use for the view from the available columns. The time value will be used as the timestamp for histograms in Search Analytics Discover searches and similar uses.
-
Click Create View. The following window appears:

- Type a unique name for the view. The view name will become available for analytics and search tasks. View names must comply with AWS naming conventions.
- Optionally, select any of the following options:
- Cacheable to enable the query cache feature, which caches the results of queries using this view. See Query Cache later in this topic for some best practices before you enable this setting.
- Overwrite to save your view with its current name even if a view with that name already exists. This allows you to replace an existing view of the same name with the new view and its settings.
- Case insensitive specifies whether users must input the exact case when searching on terms in the data set. It is highly recommended to keep this setting disabled. See Defining Case Sensitivity later in this topic.
- Click Create to add the new view to the Views page.
Interval Options
ChaosSearch and its cost-effective indexing allows you to keep a longer history of indexed data, but you might want to limit search results and analysis with a view to a configured last number of days, say the 7 days, or last 1 month, for example, to balance query performance and to focus the user analysis to a recent window of indexed data.
The Index Pattern is a Java regular expression that you can specify to match a subset of the interval files for the selected object group(s). By matching on a subset, versus all interval files (.*), you can limit the indexed data that is queried by the view to the specific interval files, and thus to the specific index data referenced by those files. Since the interval files are daily intervals, you could create expressions that focus on specific intervals like weekend intervals, business day intervals, or similar patterns that you create with Java regular expressions. For more information about Java expressions, see references such as java.util.regex Class Pattern.
The Interval Window is a rolling time period that limits a view, and its corresponding analytics and search results, to a specified time window, such as the last 14 days. By default, Interval Window is unselected/off, so queries that use the view could return results from across all of the indexed data history for the object group(s) associated with the view. You can change the interval window using the Properties page of a view.

If you select the Unlimited checkbox, the view searches all the available indexed data for the specified intervals and object group(s).
If you deselect the Unlimited checkbox, you can edit the number value and the Days/Months list to specify the window from now (that is, the point in time when the view is used for analysis or querying) back to the start of the window. If the window is 7 days, for example, the view can search and show results only from the last week of indexed data. The list of intervals for the view updates to show the intervals that match the timeframe. If a user tries to view data for any time before the last 7 days, the view returns no results.
You specify an interval window when you create a view, and you can modify view to change the window as needed to update for analysis window changes.
Filtering Data in the View
When creating a view, you can specify filters for one or more columns to reduce the search results for the users querying that view. The view will not show any records that do not meet the filter criteria. For example, you might want to filter the results to show records only for specific applications, cloud regions, or similar values to focus the view results only on those criteria for the end users.
View FiltersThe filters that you set when you create the view are a type of hard filter -- the view will always be limited to the matching records for any configured filters. For example, if you create a filter that limits results to a specific cloud region, users cannot see search results for any other cloud regions that are outside the filter.
These filters are not the same as the ad-hoc filters like in Search Analytics where users can specify a filter to narrow the search results in their browser. Users can set and change those ad-hoc filters as needed to tune results, but the results will never include records that do not meet the overall view filters.
To create a filter for a column:
- While in the create view process, and in the Schema Transformation window, select or search for the field on which you want to apply a filter.
- Click the filter icon at the right end of the field row. The Schema Transformation window opens.

-
In the Configure Filter window, type a value to filter (or narrow) the results that are displayed by the view. This example filters a client_ip field to match a specific IP value. You can specify an exact value or use an asterisk (*) wildcard value for the filter value. The view results will include only the records that meet this filter criteria.
-
Click Create to save the filter.

- The Schema Transformation window displays the filter you created below the field name.

-
Optionally, you can repeat the steps to add more filters for the same field or for different fields.
-
After you add another filter, the Schema Transformation page updates with the new filter value. The view treats multiple filter values for the same field as an "OR" condition; that is, records that match any of the filter values will be within the scope of the view results. Notice that each filter has a delete "x" icon that you can use to remove the filter if desired before you save the view.

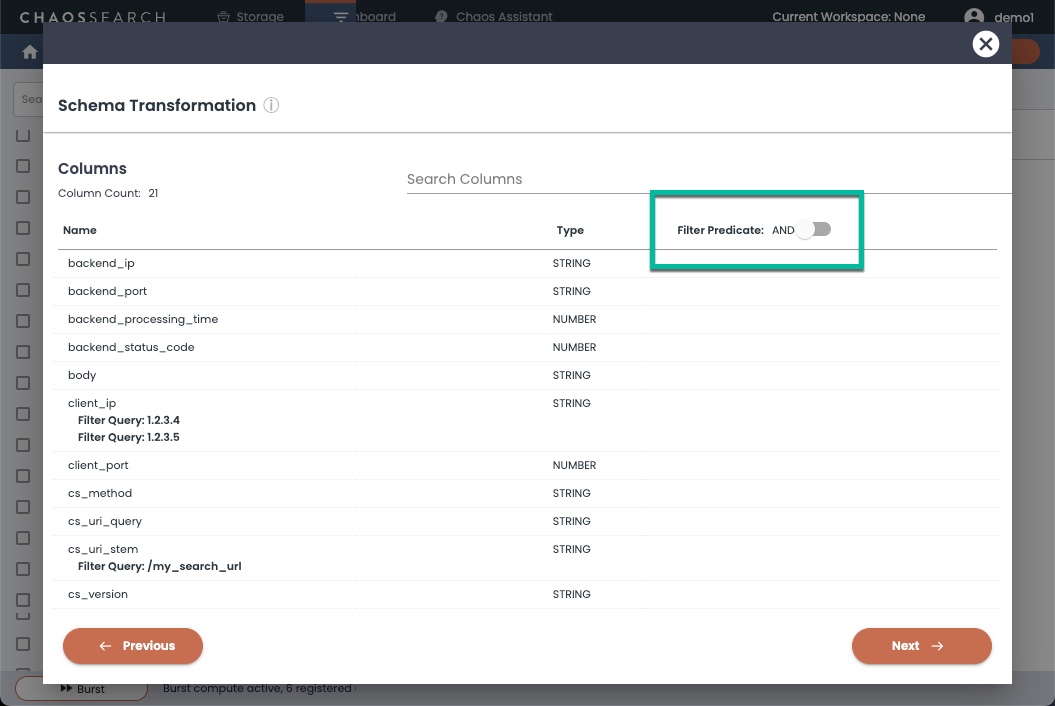
- If you add another filter for a different column, you can choose whether to AND or OR the combination of filters. For example, the following window shows configured filters for the
client_ipand thecs_uri_stemcolumns. After you add a second filter column, the Filter Predicate toggle is displayed with a default of AND. The view will contain records that have aclient_ipvalue of1.2.3.4or1.2.3.5(values for the same column are always OR'ed), AND acs_uri_stemvalue of /my_search_url. Toggle the Filter Predicate to OR if you want to include records that match either of the column filters.
Carefully review filters and transformations before saving the view.You cannot change the filters after you create the view. You can, however, create a new view with different filter choices and overwrite/replace an existing view with the same name.
Schema Transformation
When creating a view, you can virtually transform any of the fields within the indexed data to create one or more materialized columns for analytics and analysis. These transformations are a powerful feature of the ChaosSearch Refinery views that enable post-processing of the indexed data fields within the context of a view.
To create a transformation:
- While in the create view process, and in the Schema Transformation window, select or search for the field to transform.
- Click the gear icon at the right end of the field row. The Schema Transformation window opens.
See Schema Transformations for more information about the available transformations within the Refinery views and how to use them.
Defining Case Sensitivity
When creating a view, you can select whether to enable case-insensitive searching when executing searches on the new view. By selecting Case insensitive, users can search against terms without restrictions to the letter casing of the search terms. However, this setting can impact performance, especially when searching data at scale, because queries will require more time to run when compared to case-sensitive queries for the same filters. As a best practice, keep the case-insensitive setting disabled unless you are sure that you require that option.
Query Cache
The ChaosSearch query cache feature is used for caching the results of queries over large datasets. If you enable caching, after an initial query is executed, results are cached for improved search results and experience when similar queries are re-run against the view. For queries that typically return in a few seconds, enabling view caching could add an additional 1 or 2 seconds and may not be beneficial.
When enabled, after an initial query is executed, results are cached for improved search results performance for subsequent similar queries. You should enable caching only when the query constraints (except for the time range) are expected to remain the same, and the underlying data sources remain the same. If the constraints or data sources change, subsequent queries will encounter a cache miss; the recalculation of cache could take more time and resources to execute the new query. Also if the view is based on indexes with different retention periods, this could lead to cache recalculation and added query runtime and resources to execute the new queries.
Updated about 1 year ago