Configure a Model RBAC Group
You can configure groups in the interface using a groups wizard, or by loading a JSON file that defines the permissions or that you can edit in place. (For example, you could use the templates listed above, alter them as needed to specify prefixes or role changes.) There are also group API endpoints discussed in the knowledge center.
The following steps describe the user interface methods to load a JSON file and edit it in the interfaces, or to load a JSON file that was already prepared with changes for the customer.
To load and edit a JSON RBAC template:
- Log in to ChaosSearch as the tenant account user.
- In the top right corner, click the user's name and select Accounts.
- Click Groups.
- In the top right corner, click Add Group.
- In the pop-up, specify the name of the group. If you are assigning groups in the IdP system, this name must exactly match the name used in the identity provider.
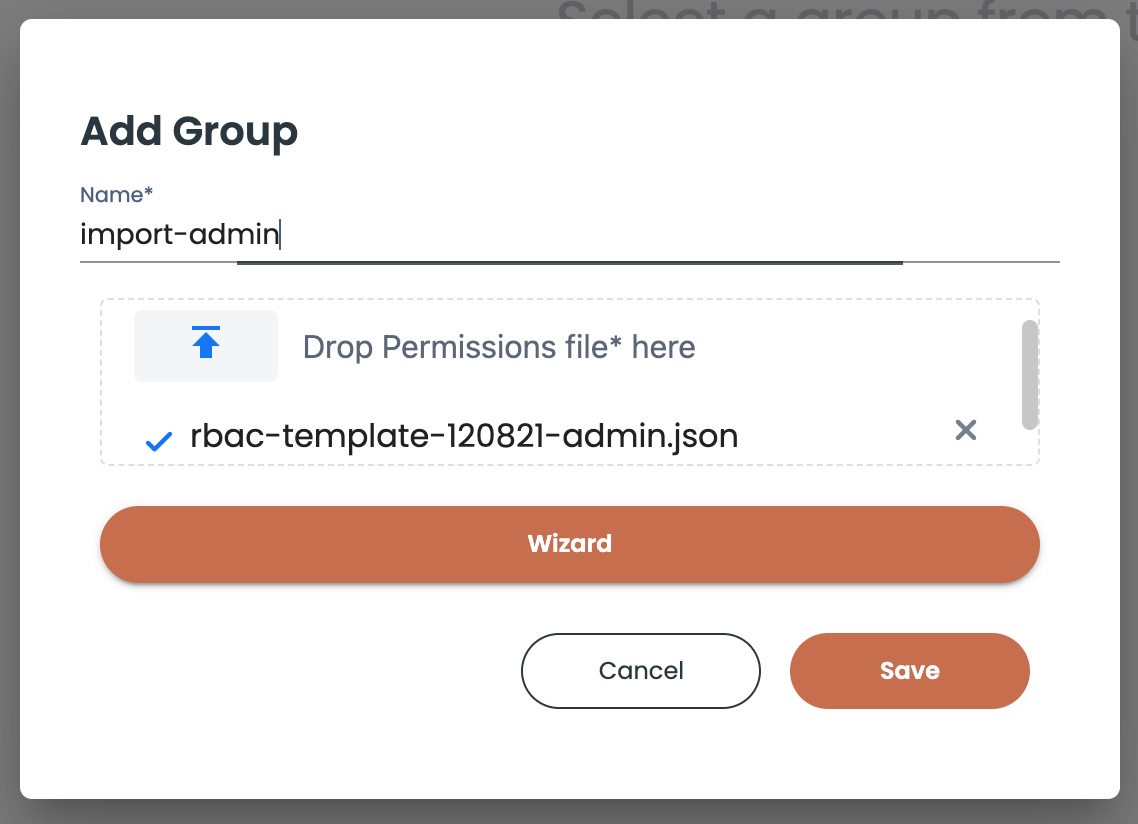
- Click Wizard.
- Click Edit as JSON. (Note that you might have to add an empty block for the Edit as JSON button to become active.)
- Copy and paste the desired JSON document template into the text window.
- Edit the JSON document as needed, specifying any appropriate prefixes and bucket names for the group. For more information, see Modifying the Group Bucket and Prefix Settings.
- Click Save.
- Click Finish.
- Click Save. The new group is added to the list on the left.
To upload a completed permissions JSON file:
- Open a new text document in the editor of your choice.
- Copy and paste the desired accompanying template into the editor.
- Edit the JSON document to include the appropriate prefixes and bucket names for this IdP group. For more information, see Modifying the Group Bucket and Prefix Settings.
- Save and close the text document.
- Login as the tenant account user.
- In the top right corner, click the user's name and select Accounts.
- Click Groups.
- In the top right corner, click Add Group.
- In the pop-up, specify the name of the group. If you are assigning groups in the IdP system, this name must exactly match the name used in the identity provider.
- Click the arrow icon for Drop Permissions file* here.
- Find and select the file saved in step 3 to load it.
- Click Save. The new group is added to the list on the left.
Updated 5 months ago